Crafting a Compelling Storyboard: Guide
Ready to bring your ideas to life visually? Creating a storyboard is a great way to visualize your narrative before diving into the full project. Whether you’re conjuring up a film, animation, or a simple presentation, this guide will walk you through the essentials of storyboarding.
From understanding its role to structuring your narrative, we’ve got you covered.
So let’s start drawing your story!
Table of Contents
Understanding the Role of a Storyboard
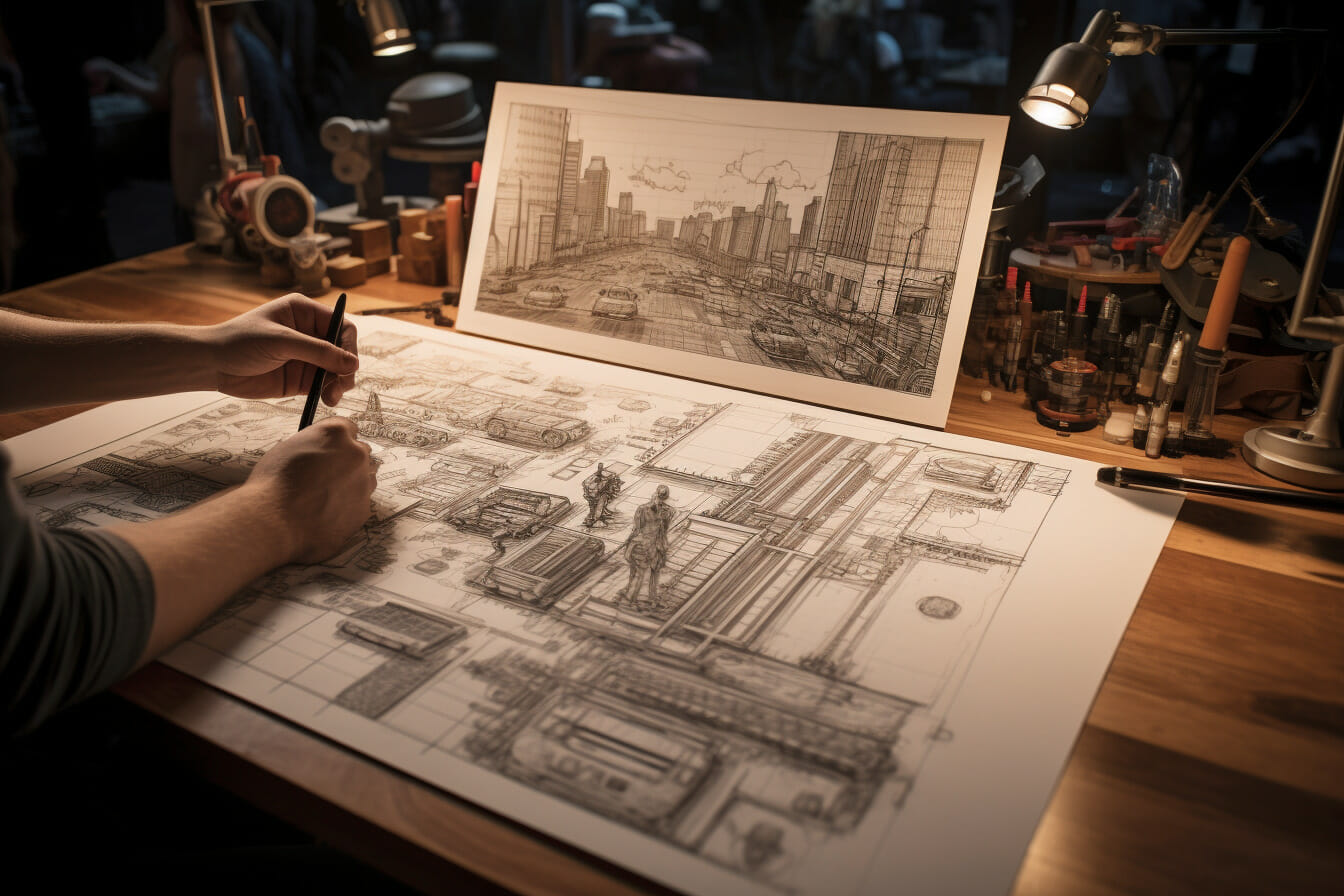
You need to understand that a storyboard’s role is essentially to visualize the sequence of events in your story, helping you plan it effectively. Think of it as your story’s blueprint, showcasing how the narrative unfolds scene by scene. It’s not solely for filmmakers or animators, but also for business presentations, marketing plans, and even in the education sector.
Creating a storyboard will allow you to see a bird’s eye view of your project, making it easier to spot gaps, inconsistencies, or areas that need improvement. It’s a tool that promotes organization and clarity, ensuring that your ideas are well-structured and coherent.
So, before diving into your project, take the time to create a comprehensive storyboard. It’ll be a game-changer in your planning process.
Essential Tools for Storyboarding
Several essential tools can help in your storyboarding process, making it more effective and efficient.
You’ll need a sketchbook or storyboard software to draw your scenes. Both traditional and digital sketchbooks work, so use what you’re comfortable with. Software like Storyboard That, Boords, and StudioBinder offer digital solutions with useful features like template layouts and drag-and-drop elements.
Another vital tool is a good set of drawing tools, such as pencils, erasers, and pens. If you’re going digital, a graphics tablet can upgrade your drawing experience.
Lastly, don’t forget about color markers or digital coloring tools to highlight key elements in your scenes.
Keep in mind, the right tools can simplify your work, but your creativity and storytelling skills are what truly bring your storyboard to life.
Structuring Your Narrative
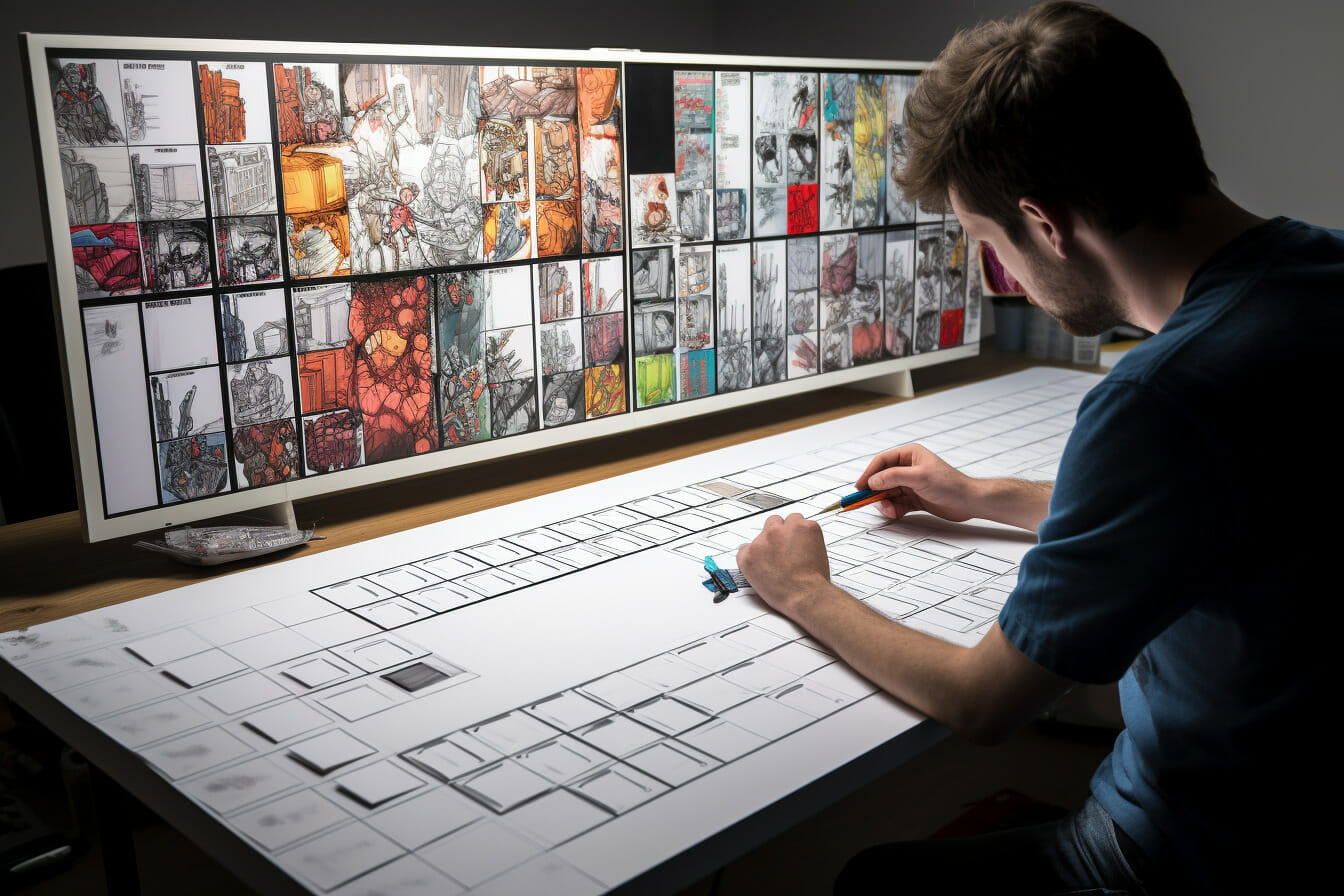
It’s essential to structure your narrative effectively, as it serves as the backbone of your visual storytelling. Start by identifying your story’s key moments, such as the introduction, climax, and resolution. These are your story’s skeleton and should be clearly illustrated in your storyboard.
Next, consider the pacing. How quickly do you want your story to unfold? The number of storyboard panels will impact this. More panels create a slower pace, while fewer panels speed things up.
Lastly, think about your characters’ development. How do they change throughout the story? What emotions do they experience? The answers to these questions will guide your visual decisions, from the characters’ expressions to their environment.
With a well-structured narrative, your storyboard will come to life, engaging and moving your audience.
Drawing the Panels
Drawing the panels is an integral part of the storyboarding process. You’ll need to visually depict the key scenes of your narrative. You don’t have to be an artist to do this; simple stick figures and shapes can work.
Begin by sketching the main actions of your story. Each panel should represent a specific shot or moment in your narrative.
Remember to incorporate important elements such as characters, setting, and plot into your panels. Use arrows to indicate movement and write brief descriptions to explain what’s happening if it’s not clear from your drawings.
Don’t be afraid to make changes and revisions. This is your chance to experiment and see what works best for your story.
It may take some time, but it’s an essential step in creating a successful storyboard.
Reviewing and Revising Your Storyboard
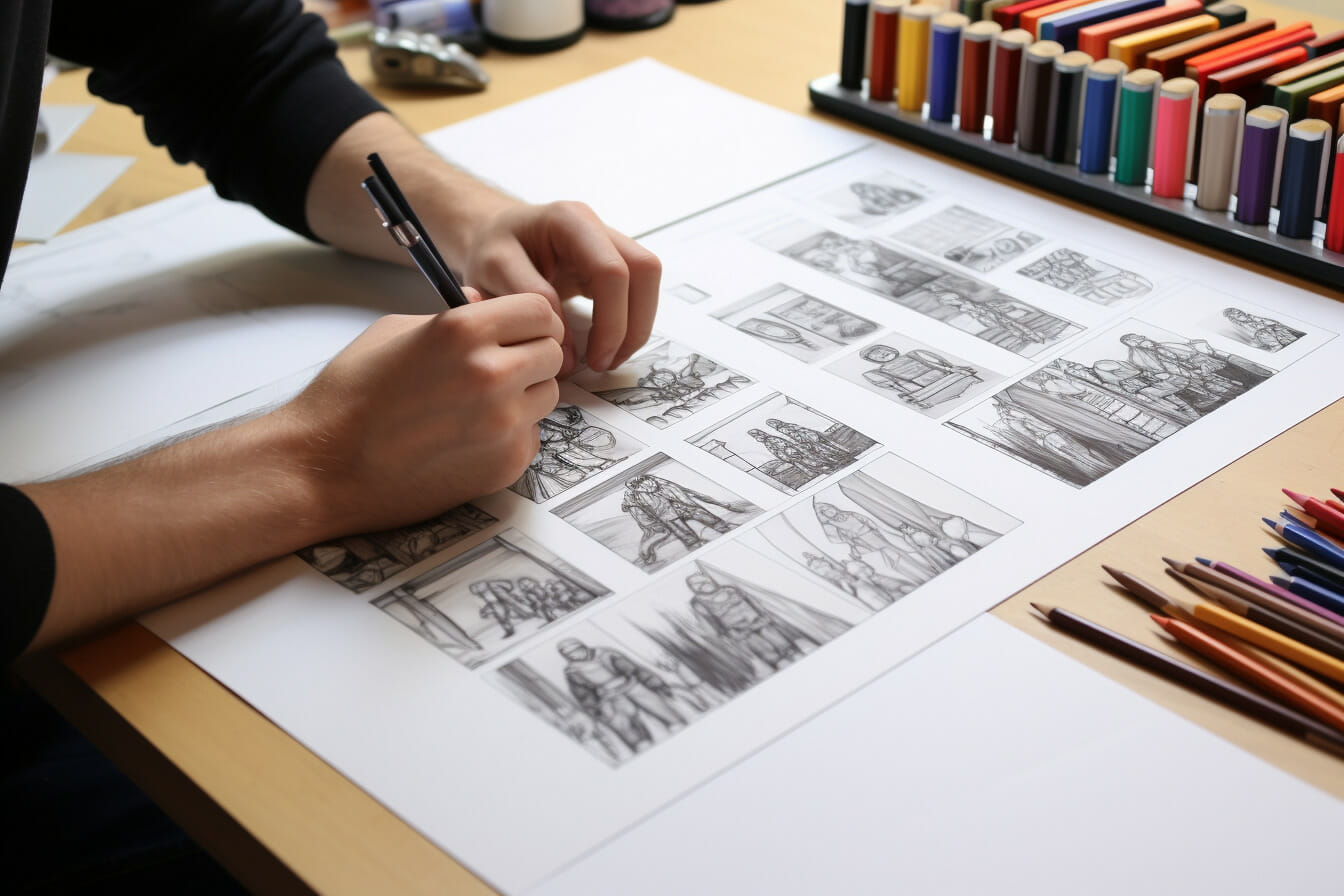
Once you’ve sketched out your primary scenes, it’s time to review and revise your storyboard. Don’t rush through this process. Take your time to carefully examine each panel. Look for any inconsistencies or areas that aren’t clear.
Think about the flow of your story. Does it make sense? Is it engaging? Does it communicate your message effectively? If not, make the necessary adjustments.
Remember, your storyboard isn’t set in stone. It’s a working document that you should feel free to revise as often as needed. Don’t be afraid to redraw panels or change the sequence if it improves your story.
Finally, ask others for their feedback. Fresh eyes can often spot issues you may have missed. With careful review and revision, your storyboard will become a strong foundation for your project.
Frequently Asked Questions
How do I create a storyboard?
To create a storyboard, you can use a storyboard template or create one from scratch. A storyboard is a visual representation of your story’s shots and camera movements. It helps you organize your ideas and plan your project.
What are storyboards?
Storyboards are visual guides that illustrate the key scenes and shots of a story. They are used in filmmaking, animation, and other visual media to plan and communicate the visual aspects of a project.
Are there any free storyboard templates available?
Yes, there are several free storyboard templates available online. Using a template can help you save time and ensure that your storyboard is well-organized and easy to understand.
How can I hire a storyboard artist?
If you are not comfortable creating your own storyboard, you can hire a storyboard artist to do it for you. A storyboard artist is a professional who specializes in creating visual storyboards for film, TV, and other visual media.
How do I edit my storyboard 2023?
To edit your storyboard, you can use a storyboard tool or storyboarding software. These tools allow you to easily make changes to your storyboard, add or remove scenes, rearrange shots, and more on stage.
Can I add camera movement to my storyboard?
Yes, you can add camera movement to your storyboard. This can be done by using arrows or lines to indicate the direction and movement of the camera in each shot.
Why should I use a storyboard?
Using a storyboard is a good idea because it helps you visualize your story before you start shooting or animating. It allows you to plan your shots, experiment with different camera angles, and make a storyboard sure that your story flows smoothly.
What is the importance of shot list in storyboarding?
A shot list is a way to organize your shots and ensure that you capture all the necessary visuals for your story. It is a list of all the shots you need to create your story, including specific camera angles and any special effects or visual elements.
Can I share my good storyboard with others?
Yes, you can share your storyboard with others. You can either print it out or use an online storyboard tool to create a digital version of your storyboard and share it with your team or collaborators.
Conclusion
So, you’ve got what it takes to create your own storyboard!
With a clear understanding of its role, the right tools, and a strong narrative, you’re well on your way.
Remember, drawing the panels is a creative process, so let your imagination run wild.
And don’t forget, reviewing and revising your storyboard is a crucial step.
Now, go on and bring your story to life!


